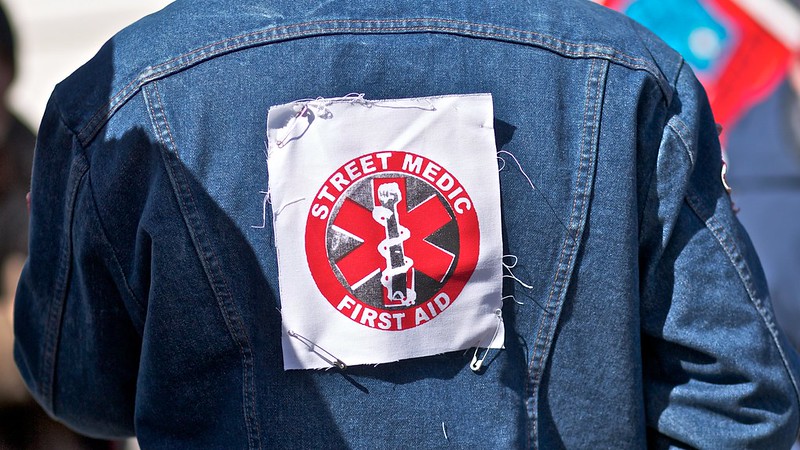
Do you want to form a new street medic collective in your community? Do you have a group of people who want to start providing medic support at protests, but you’re not sure how to get started? Organizing a 20 hour street medic training in your community can an effective way to start a new street medic collective. It’s also a great way to invite new medics to your collective, and we recommend that active collectives host trainings regularly if they want to grow their membership.
For many years, the 20-hour training has been recognized as the “gold standard” of foundational skills that every medic should have before they mark as a medic at a protest. Today, many collectives are experimenting with other variants of training, such as modular training and regular skillshares. A 20-hour street medic training usually involves 2.5 long days of training, which can be difficult for many working people to attend. Furthermore, learning so many new skills quickly in a short period of time does not result in skilled medics; it only provides the foundational knowledge that, with experience, will enable a person to become a skilled medic.
Nevertheless, the 20-hour continues to be an important street medic training method. Atlanta Resistance Medics usually hosts at least one 20-hour training every year, and our trainers are available to travel to your community to provide this training.
If you want to organize a 20-hour training of your own, here’s how to get started.
One Month in Advance
- Contact known street medic trainers and schedule a time when they’re available to come (typically this is a Friday, Saturday, Sunday). We encourage you to reach out to the closest established street medic collective to your community. Normally, you’ll need to provide housing and food for the trainers, and if possible, it’s good to offer a small stipend for travel costs. (If you’re in the southeast, yes, our collective can send street medic trainers for your event!)
- Once you’ve chosen the date, find a space. Look for spaces where it is ok to be loud, and where you can have the space for the entire weekend. You’ll need room for all your participants (typically about 20 people) to move around freely. Make sure it is mobility accessible and there is option for multiple forms of transportation (or set up a ride-share). The ideal space will also have some outdoor space you can use for training activities.
- Open registration, and promote it in your community. We usually use a Google Doc form with a spreadsheet, which makes it easy to organize. Collect contact information (email and phone), allergies, housing needs, and dietary restrictions. Ask for a donation of money if the trainers
are coming from out of town to help pay for their travel costs (usually this is “pay what you can”). Ask organizers in your community to share the announcement and registration with their groups. - Create information packets. Create welcome packets for people who register with all the information they need.
Three Weeks in Advance
- Close registration once it’s filled. How many spots you offer depends on your space and the trainers. If you have a lot of interest, consider keeping a wait list to fill spots if people drop out last minute (as inevitably happens).
- Confirm the space, and make sure you have all the supplies you need.
- Find someone to organize meals for Saturday and Sunday. Ideally, this will be a different person than the person who’s organizing the logistics of the space and registration! If you have a collective, or if you’re starting one, this is a great way to get more people involved in an essential role. If your space has a kitchen,you can have someone designated to cook a meal on those days. Ask participants to bring something to contribute (don’t expect a lot) and snacks. You can also talk to your local Food Not Bombs about getting food donations.
Two Weeks in Advance
- Communicate with the trainers in person or on a conference call a few weeks out to iron out any remaining details. Double check your supply list. Ask what supplies the trainers will or will not provide for their demos. Check to see if there are any last remaining needs.
- Recruit volunteers for practice scenarios. Most trainings will involve a “mass casualty” scenario on Saturday or Sunday (or both!), and if you can bring in additional volunteers, that will enable all the training participants to play the role of medic in those scenarios. Talk with your trainers about how many volunteers you need — usually, the more the merrier!
One Week in Advance
- Send reminders! Text, call, and email people who registered to confirm that they are going to attend. If they bail out, fill their spot from the waitlist. Re-emphasize that they must attend the entire training in order to become a trained street medic. Make sure they understand that they must be on time. Also send out reminders to all your volunteers for the food, the space, and the scenarios.
- Take all your supplies to the space and visit the space to ensure it is ready. Make signs to post on location doors or at street corners to help direct people to the right place if the space is not easily found.
- Confirm with hosts if you have people hosting participants who are traveling from out of town. Check in with trainers about any last-minute needs.
Training Day – Celebrate!
- Confirm registration as people arrive. You may want to contact no-shows to confirm they’re unable to come.
- Introduce yourself and your medic collective. If you’re starting a new collective, this is a great opportunity to talk about the projects your group wants to do and invite soon-to-be medics to be part of them!
- Introduce the trainers.
- Enjoy the weekend!
SAMPLE SUPPLIES LIST
- Food for lunch Sat/Sun and snacks for the entire weekend (accommodate dietary restrictions)
- Dishes/bowls/utensils
- Tea & coffee (hot water boilers, coffee pot, filters, mugs, sweeteners)
- Drinking water
- Toilet paper
- Pens and paper for note taking
- White boards and markers for the trainers
- Chairs for all participants
- Demo medic supplies if not supplied by trainers
- Real medical kits, reading materials, and other examples for show and tell
- Fake cop uniforms and gear
- For fake tear gas canisters to be used in demos, take two cups, put some dry beans inside, and tape them together securely with duct tape so they have some weight with the throw. Bring noise makers(megaphone, whistles, etc) and cop uniforms. For fake batons, a stick wrapped in electrical tape is sufficient.For fake pepper spray, a sprayer bottle with water inside works well. To make scenes even more realistic, soap dyed red makes excellent fake blood and washes off easily. Think about demo scenarios and bring any other props that may make it more realistic. Talk to the trainers about what props they think they’ll need.
- Tarps to keep down the mess of demos if indoors
- Information about the local medical collective and how to get involved
- Information about upcoming opportunities to medic
- Name tags

